When I last wrote about my loop station, it was a printed front panel with knobs and faders that didn't do anything yet. The plan was to wire everything up, write the software and give those controls their meaning.
That plan worked out! I printed the rest of the enclosure, did the wiring and programmed it, and the first prototype is here. It felt a bit like connecting the dots, except that at first I didn't end up with a nice picture, but with a cable mess. Only after fitting everything into an enclosure and writing this blog post was I able to feel proud of the result.
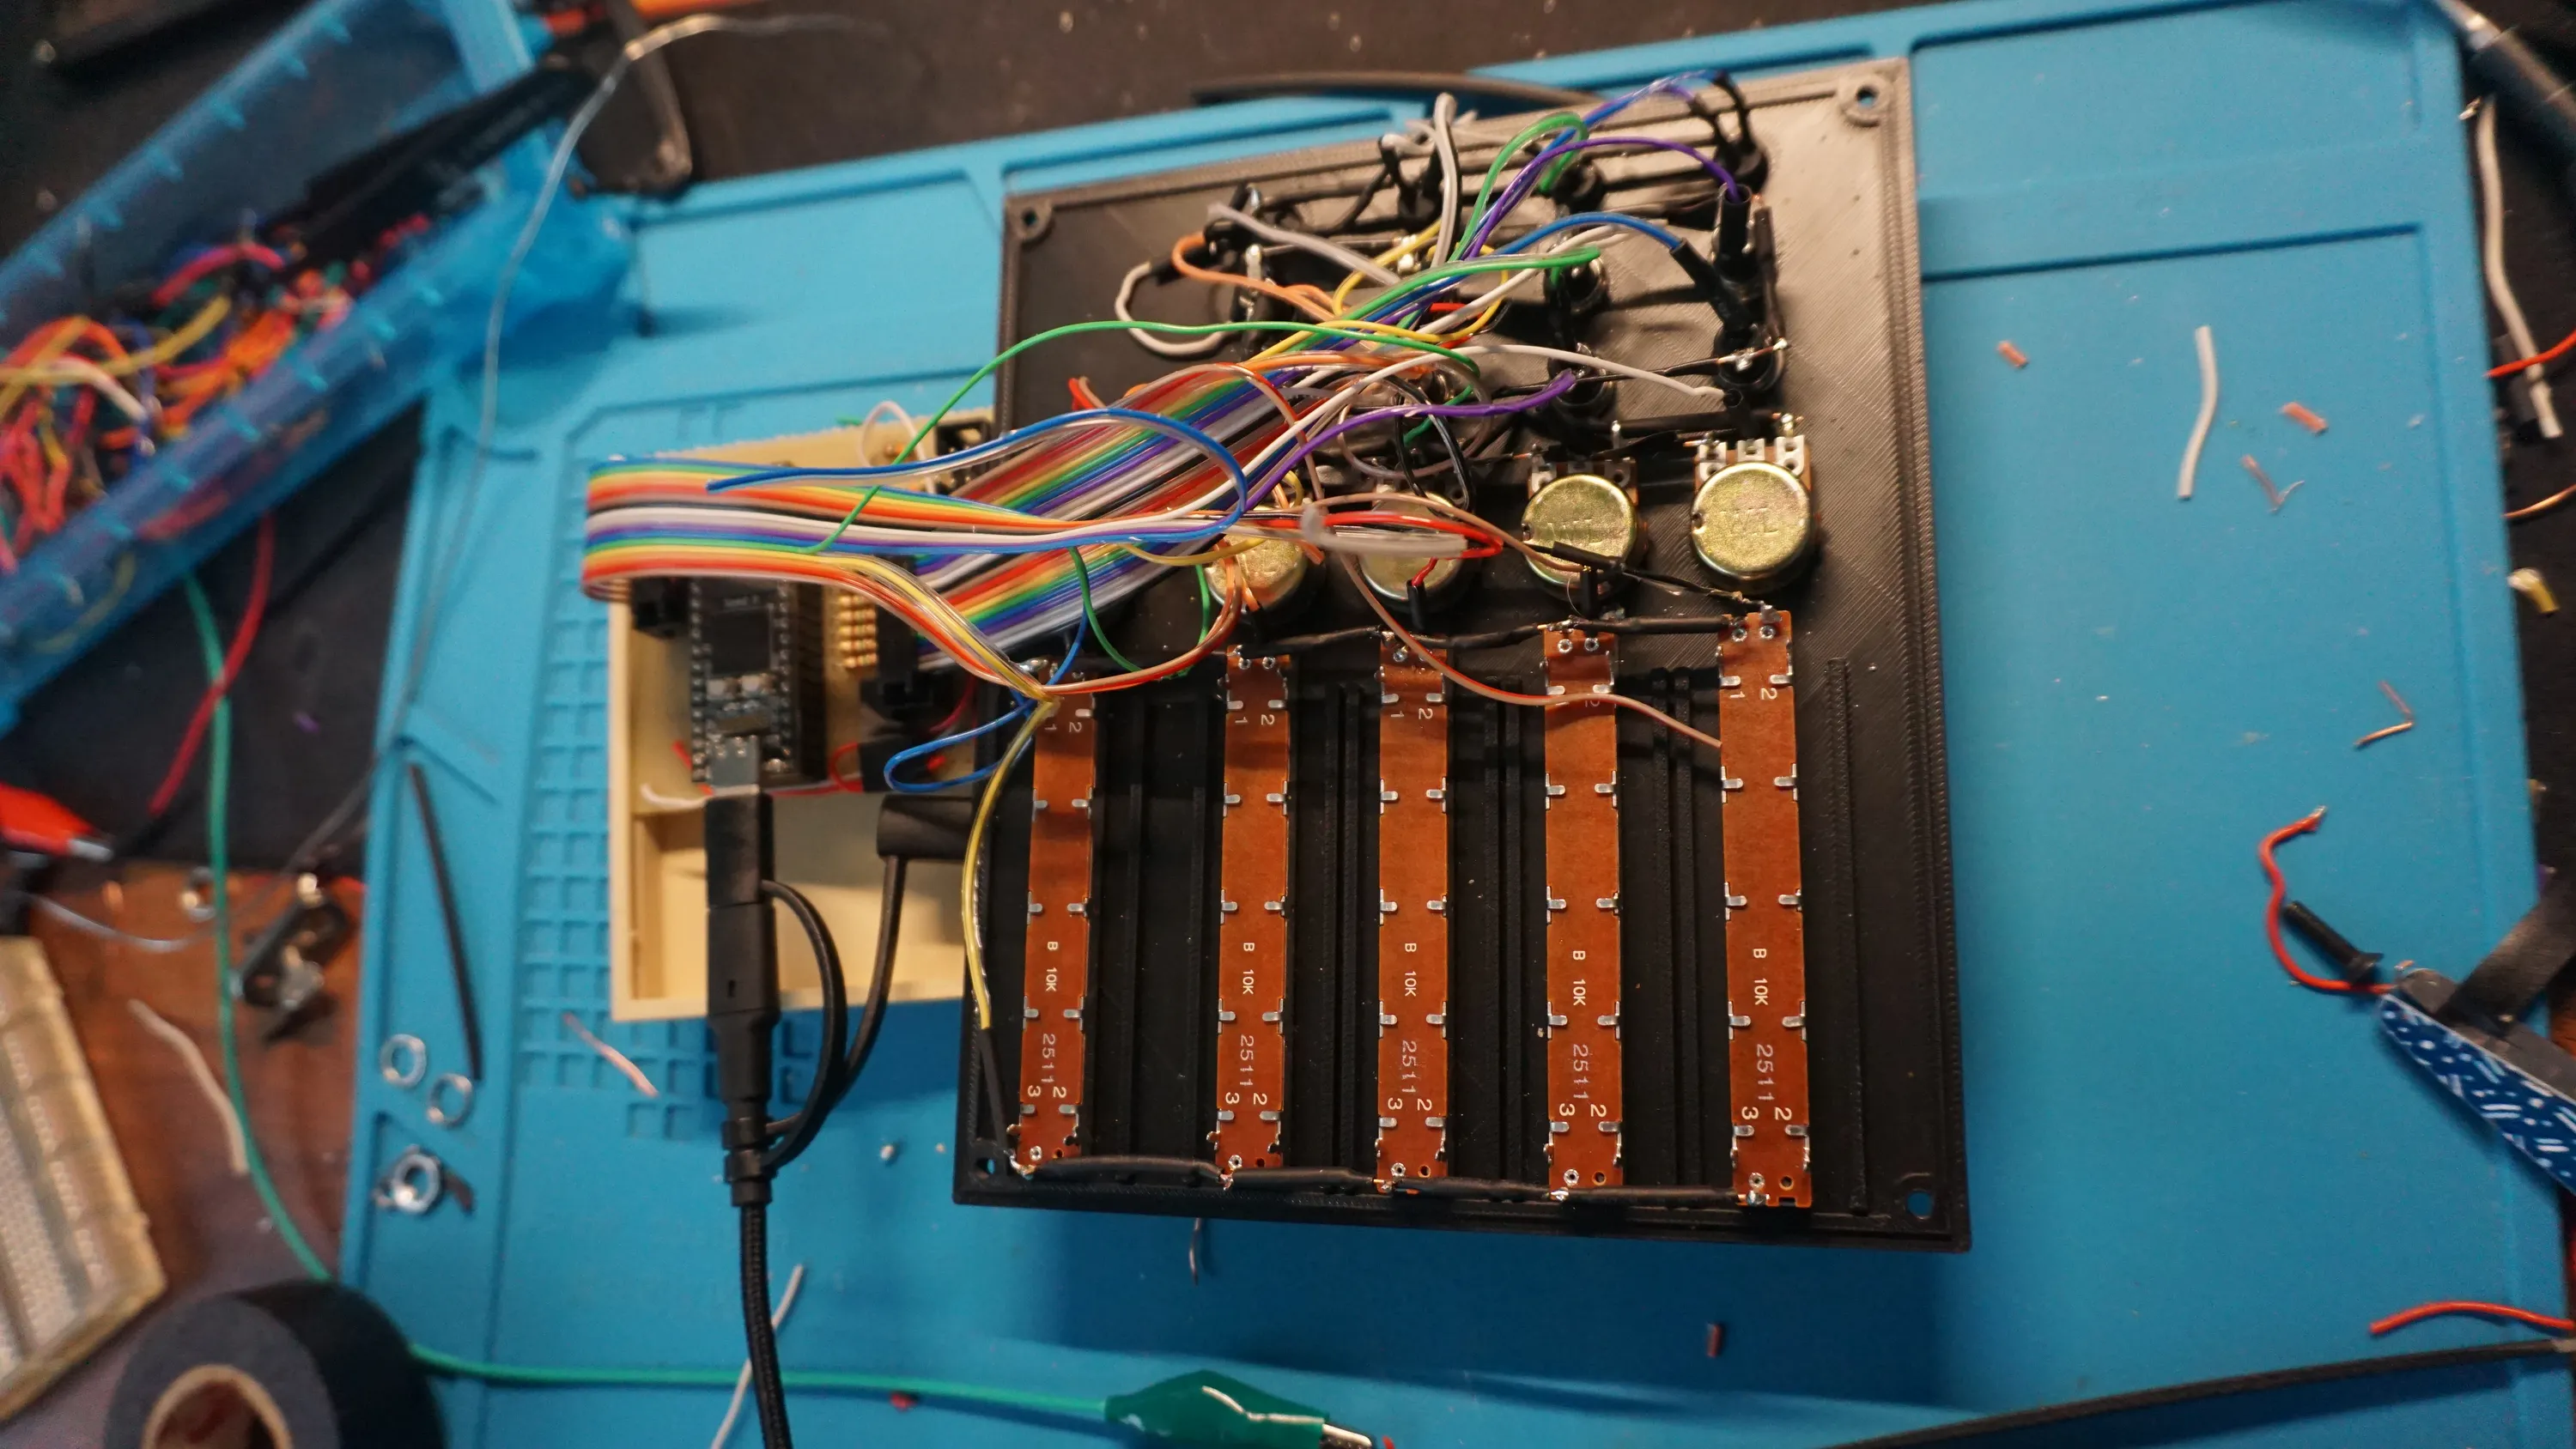
Wiring up eighteen controls
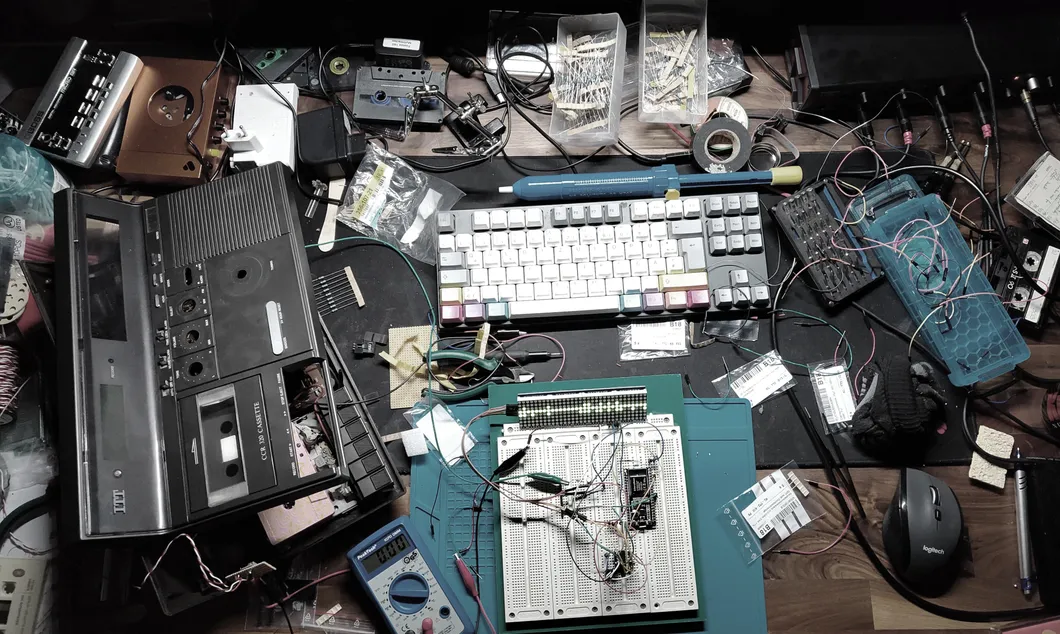
I spent one session, about half a day, soldering the connections on the prototyping board. The wiring of the components took two more sessions of a few hours each. I didn't solder the cables directly onto the board but used ribbon cables with connectors that plug onto rows of posts on the board. The advantage is that I can remove a connection again.
Soldering can be meditative, but it can also quickly turn into tedious work. I wouldn't call myself an impatient person, but after finishing the LEDs, it looked like connecting the other eight buttons, five faders and five knobs would take ages.
That was the moment I promised myself to dive into the world of designing a custom PCB for the next prototype. That will let me order it from a manufacturer instead of soldering a prototyping board by hand. Then I can place the knobs, buttons and LEDs directly on the PCB and get rid of most of the wiring.
Not everything worked at first
With everything wired, a whole batch of the cheap push buttons turned out to be dead, and two faders acted weirdly. I checked the solder joints first and measured with a multimeter, and I quickly realized that the faders themselves were broken, not the code or the wiring. I replaced the faders and the buttons, and after that everything worked fine.
Everything squeezed into a box
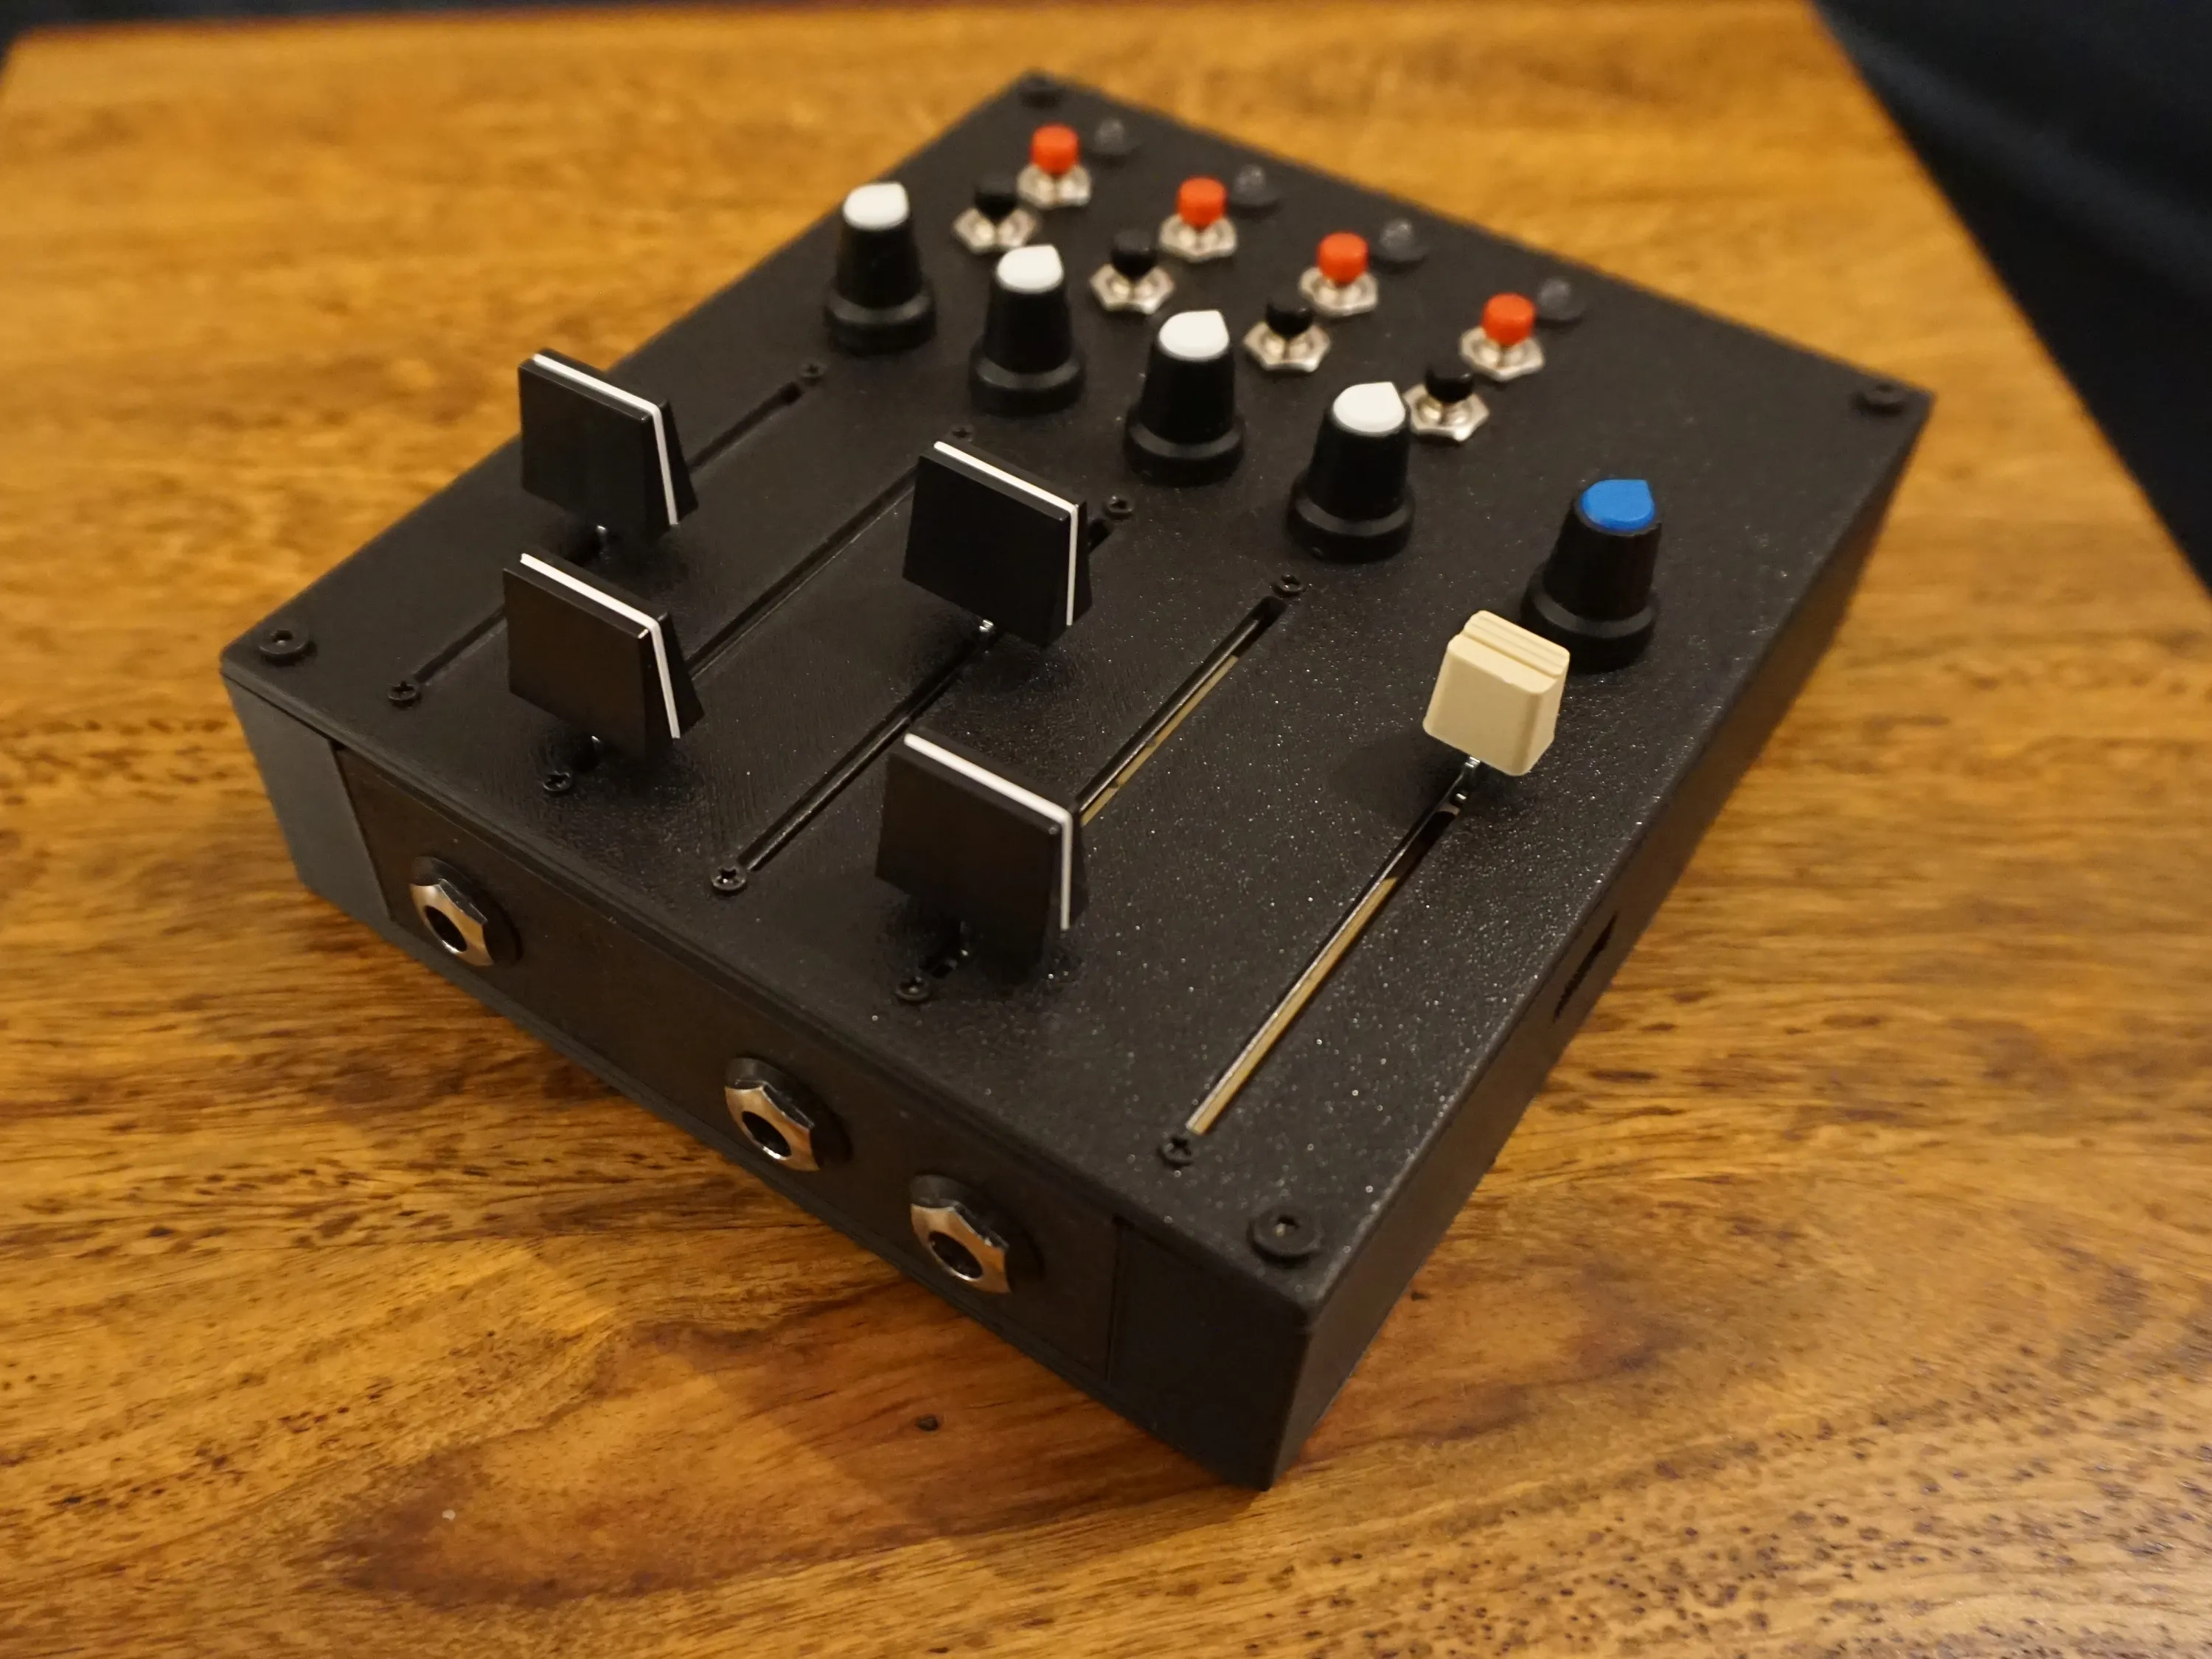
Then everything had to fit into the box. Like the front panel, the rest of the enclosure came off my 3D printer.
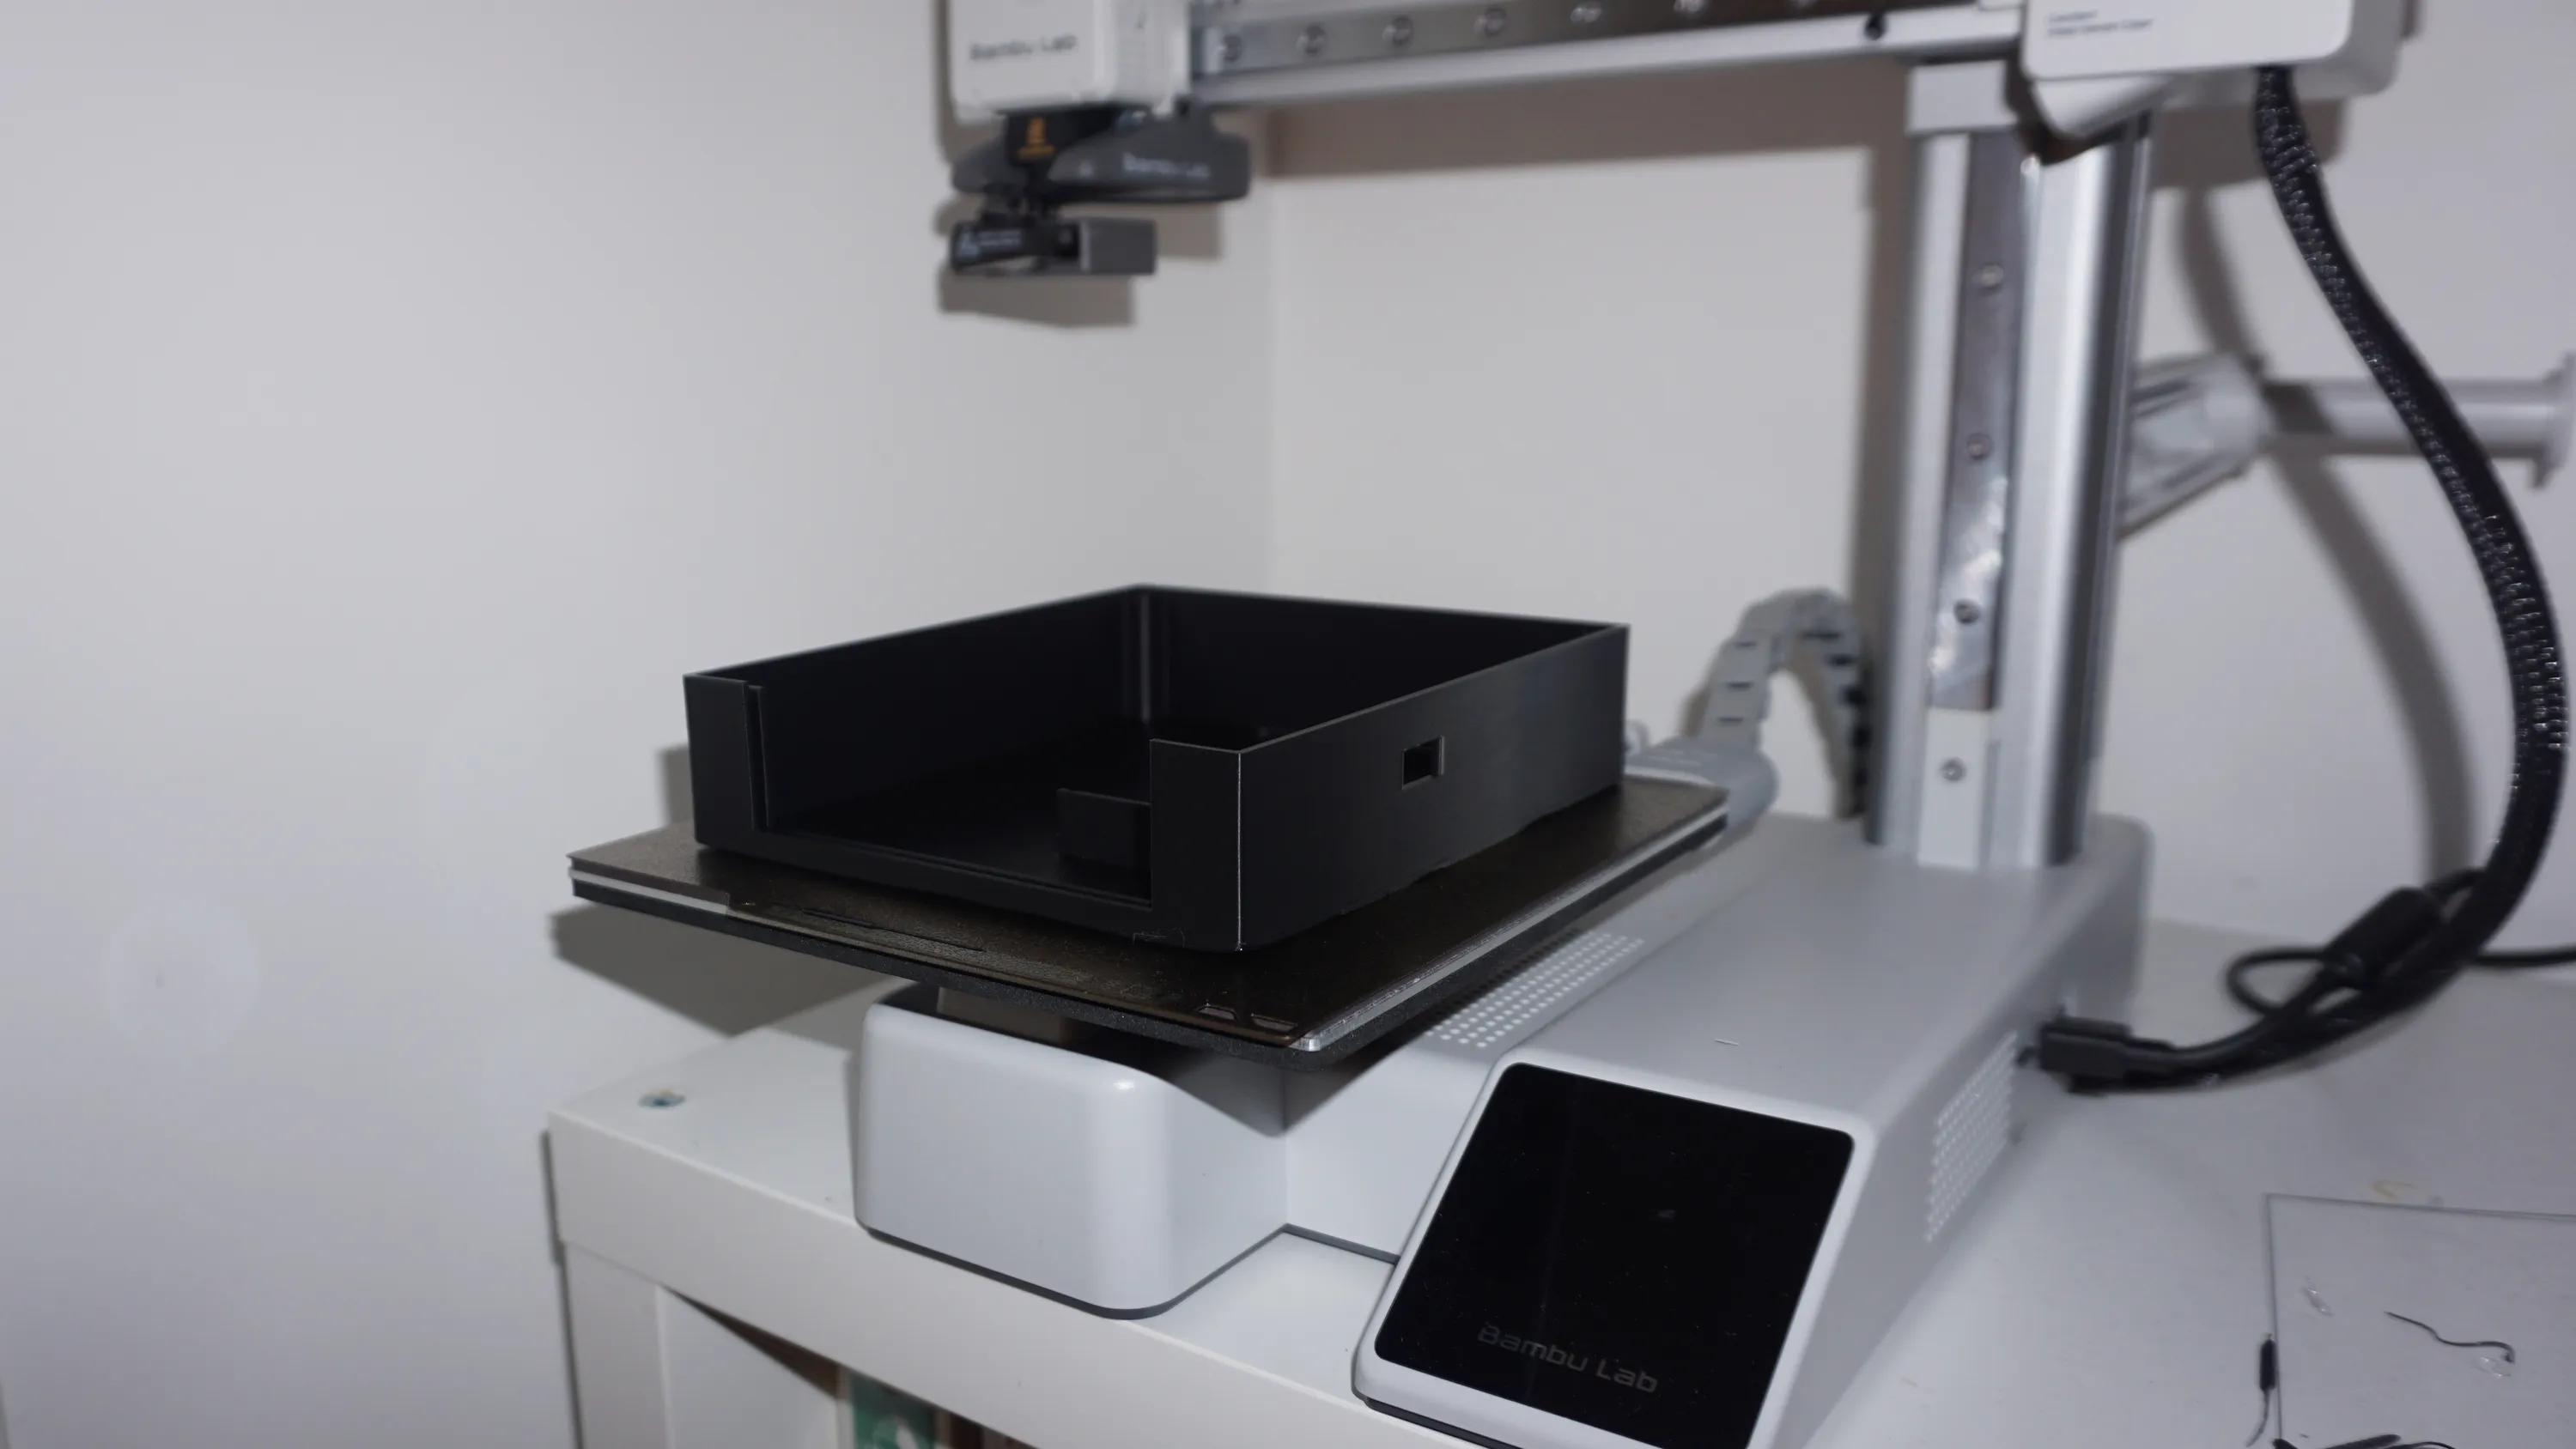
I thought I had planned plenty of height, but in the end the cable connections took up most of the space inside. It did fit, though. On one side of the enclosure there was a lot of tension and the lid bent a bit while I was screwing it together. I'm not sure why. Maybe the print wasn't precise enough, or I need to allow some more tolerance. I'll keep an eye on that.
Otherwise, the printed enclosure has held up well. In the last post, I worried about heat, but so far there have been no issues.
Reviving my C++ skills
The brain of the prototype is a Daisy Seed 3, a small audio platform. Every component connects to it.
What's on a Daisy Seed?
Three parts matter most for my loop station. An ARM Cortex microcontroller, a tiny computer that runs my program. An audio codec, which converts analog audio from the input jacks to digital and back. And an SDRAM chip with 64 megabytes of memory. It can store any kind of data, but for me it's where previously recorded audio lives.
Wired up, the controls still needed a program to come alive. In my first post, I wondered whether I'd need to revive my C++ programming skills for this. I didn't strictly have to, but after weighing the pros and cons, I chose to. I learned the basics of C++ at university a long time ago and haven't used it much since, so choosing it was also a decision to get better at it.
The other half of that decision is libDaisy, a library for programming the Daisy's microcontroller. It's an abstraction layer that gives me access to audio, controls, displays and so on, without having to deal with every detail of the chip. The learning curve is steeper than with other options, but I think this combination leaves me the most flexibility. I'll probably dedicate a whole separate blog post to this.
I had help from AI, but I instructed it to act as a teacher, and I wrote most of the code by hand. In a vibe-coding world, that was actually very refreshing, and it feels like I understand the concepts better when I think them through and write them myself.
Four loops under control
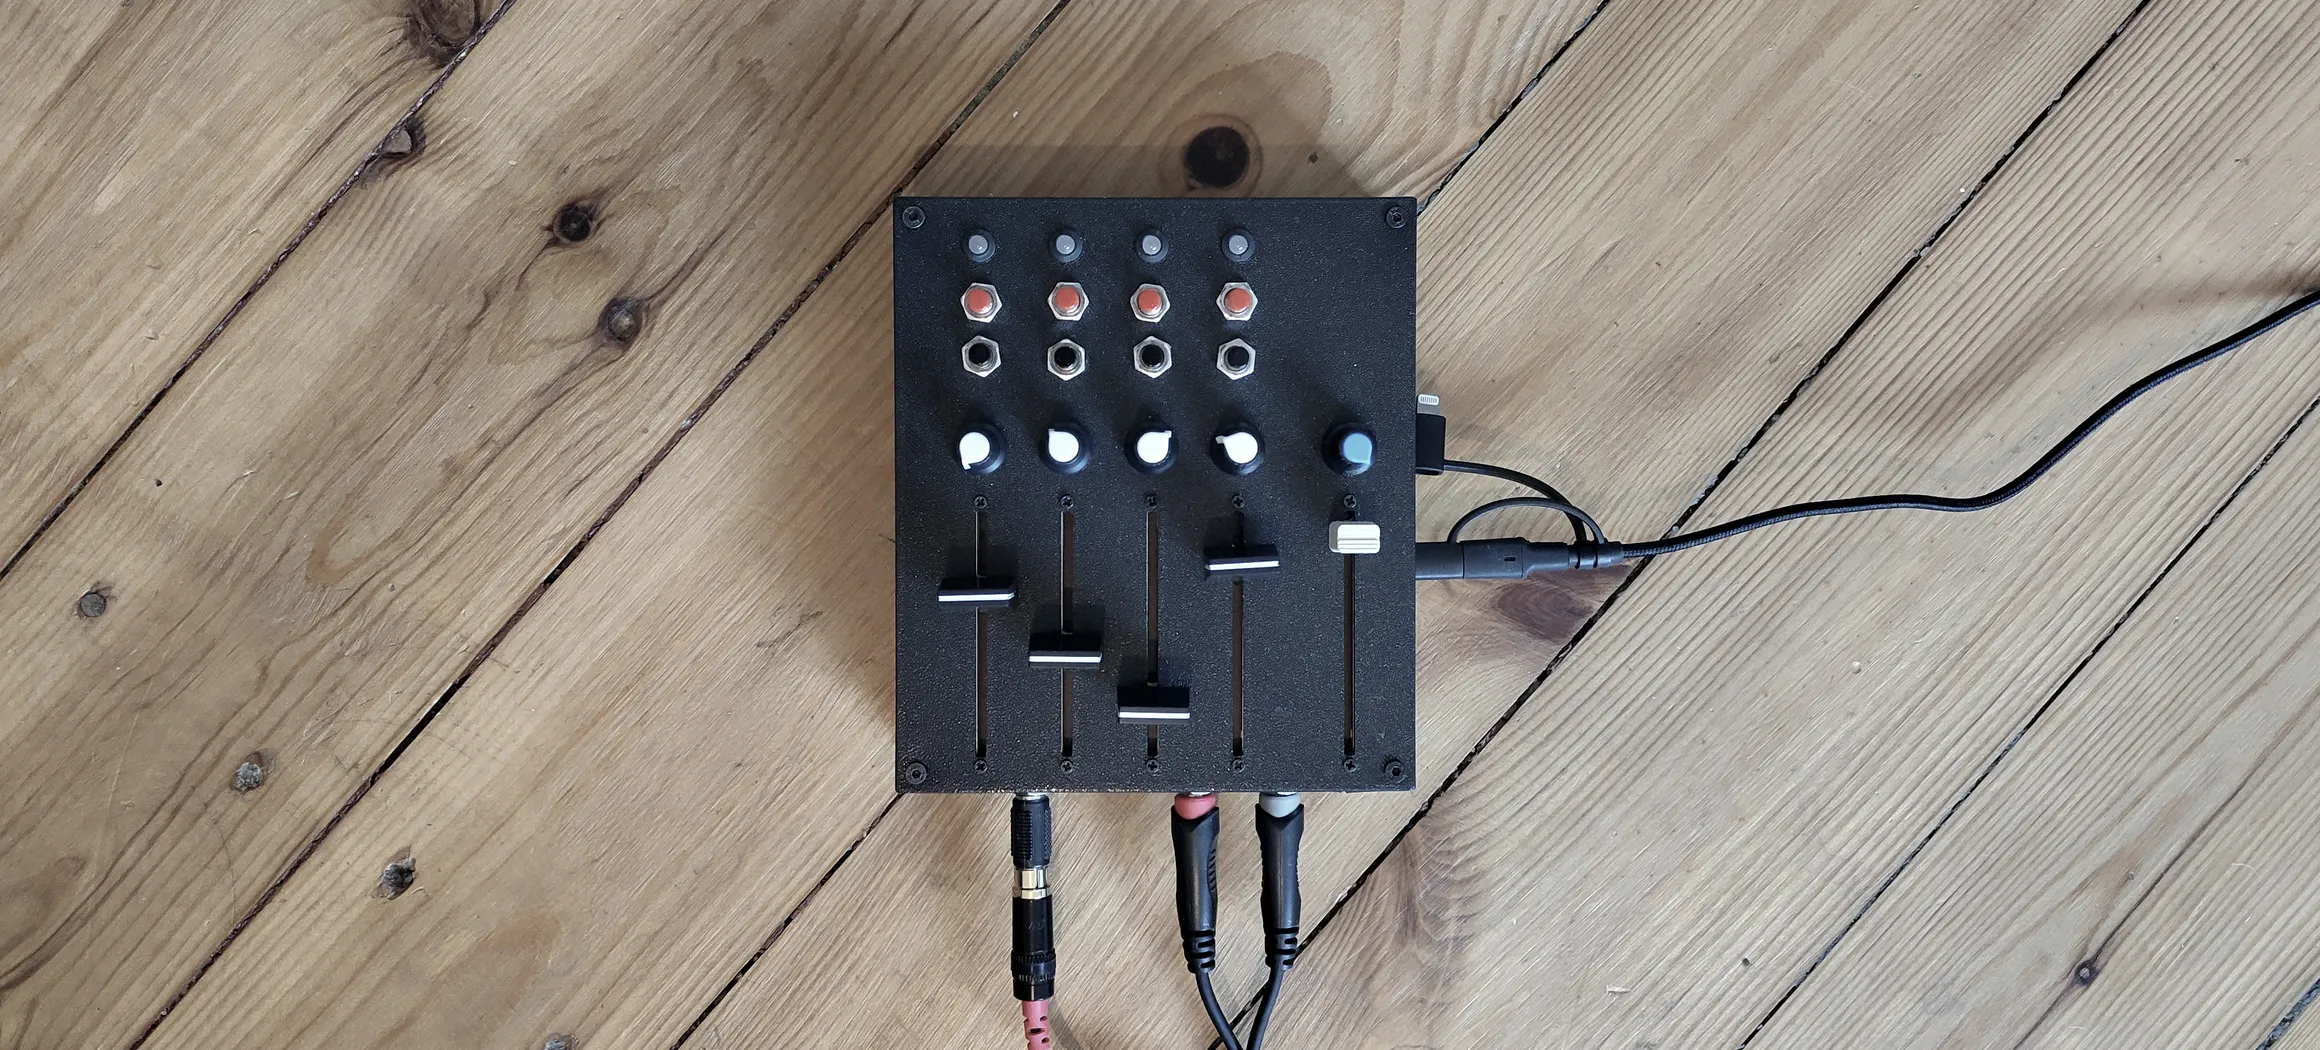
So here's what the loop station actually does: it records and plays back loops of any length on four tracks. Each track has a fader for its volume and a knob for its panning. A red button records, a black button plays back, and an LED shows the state: red for recording, green for playing. On the right, the blue knob sets the input gain and the last fader sets the main volume. The tracks are mono: sound comes in through one jack, and the panning places each track in the stereo output on the other two.
That means I can mix four recorded loops at the same time with my hands, which is pretty cool.
The limit is the memory. The 64 megabytes give me around 87 seconds of audio per track. There are ways to go beyond that, but I'll think about those later, because for now 87 seconds per track is more than I need.
The first things I recorded were random ambient sounds, just for testing. The four tracks filled up quickly, and it was fun to mix them. It was great to have a physical device I could put my hands on. I soon realized that volume and panning aren't enough, though. I'll come back to this in the next post.
Loops that drift
Most multitrack devices are about keeping recorded loops in sync, and sometimes offer unsynced loop lengths as a side option. I want to make unsynced loops the core concept and build everything around them, because I'm after the feeling of tape loops. A tape loop has no quantization and no grid, and I want to be just as free about how long a loop is.
What's a tape loop?
A piece of magnetic tape, for example inside a cassette, with its ends spliced together, so the same recording passes the playback head again and again. Brian Eno built Ambient 1: Music for Airports, one of the records that defined ambient music, from loops of different lengths running at the same time. The sounds line up differently with each pass, so the music keeps changing without anyone playing it.
When I heard my own loops drift against each other on the prototype for the first time, it made a lot of sense to me, and I think there's real creative potential in it.
Stillness is the key
Finishing the first prototype didn't feel like a big deal at first. That only changed while writing this blog post, which forced me to stop for a while and look back at what I'd actually achieved so far.
It was a good reminder. I tend to focus on things that aren't working and move straight on to the next problem, so I often have to force myself to be still for a moment. When I do, I can feel a bit of pride.
Next: a live recording, and what I'd change
First, I want to record a track live with the prototype, even though it's still limited to volume and stereo panning controls.
This prototype also left me with a long list of things I'd do differently, from more effects to different kinds of buttons. I'll keep you posted.
I hope I can share the first recording soon, so look out for it on Mastodon and Bluesky. Or subscribe to the newsletter for an occasional letter from the workbench. Read you soon!